Picture this. You pull into your driveway after a long day. Your electric vehicle sits there with a low battery. You wish you could just plug it in and wake up to a full charge instead of hunting for public stations. Many new EV owners face this exact frustration. Home charging changes everything. It saves time and money while giving you peace of mind.
EV charger installation at home sounds tricky at first. You might wonder about wires, breakers, and safety rules. The good news is that a clear plan makes the process straightforward. This guide walks you through every step so you know what to expect. Whether you handle some work yourself or call professionals, you will feel confident moving forward.
Why Home EV Charging Makes Life Easier
It’s cheaper to charge at home than waiting at public charging stations. A Level 2 charger provides 25–60 miles of range every hour. Most drivers wake up to a fully charged battery after parking overnight. There’s no need to stress about range anxiety during busy mornings.
You can also manage electricity costs more effectively with home energy rates. Many utility companies offer lower overnight rates for EV charging. Over time, the savings compared to public charging stations can become significant.
Assess Your Home’s Electrical System
Start with your electrical panel. Many homeowners ask, “What does an electrical panel do?” This box distributes electricity to every outlet and light in your home. Before installing an EV charger, check the panel’s age and capacity.
Older homes often have 100-amp panels, while newer homes usually come with 200-amp service. A Level 2 charger requires substantial power. Performing a load calculation helps determine whether your current system can safely handle the added demand.
This step also reveals whether it’s time for an electrical panel upgrade. If your panel lacks capacity or breaker space, upgrading prevents overloads and future electrical issues. Licensed electricians can handle this safely and efficiently.
Choose the Right Charger and Location
Level 2 chargers are the best option for most homes because they require a dedicated 240-volt circuit and charge much faster than standard outlets.
Choose a wall-mounted charger near your parking area. Consider cord length carefully so the charger can easily reach your vehicle.
Whenever possible, install the charger in a dry and protected garage space. For outdoor installations, select a weatherproof charger designed for exterior use. Also, measure the distance between the electrical panel and charger location because shorter wiring runs simplify installation and reduce costs.
Check Local Permits and Codes
Most cities require permits for EV charger installation. These permits ensure the work meets local electrical and safety codes.
Professional installers usually manage the paperwork, submit plans, and arrange inspections. Skipping permits may create issues later with insurance companies or future homebuyers.
Always follow local code requirements for grounding, breaker sizing, and electrical safety compliance.
Step-by-Step Installation Process
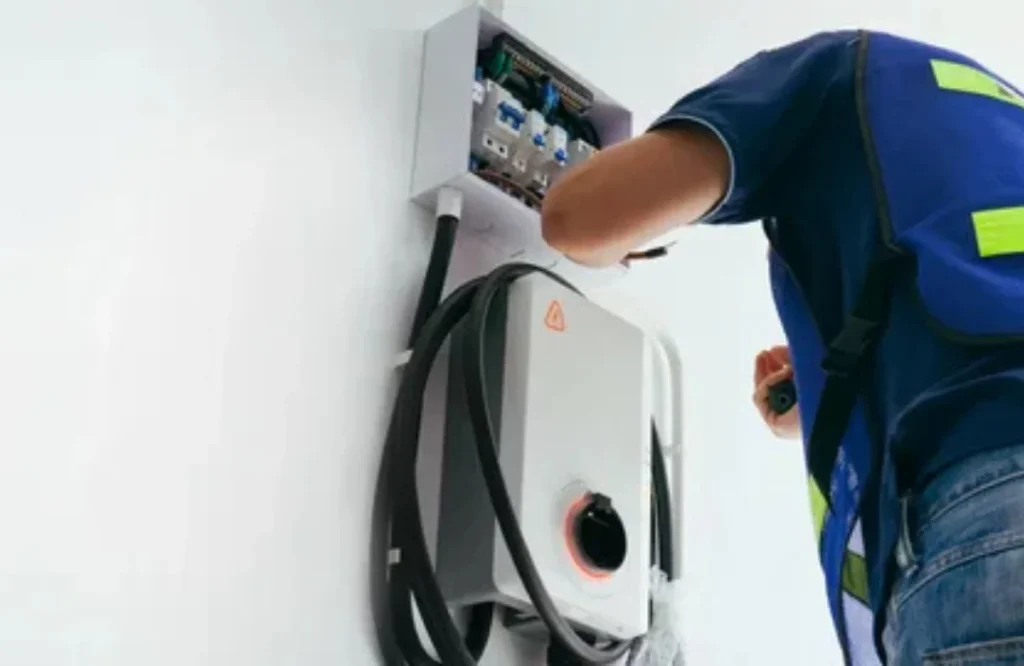
Step 1: Shut Off Power and Prepare the Area
Safety comes first during any electrical project. Turn off the main breaker and use a voltage tester to confirm the power is off. Clear the workspace and gather all required tools and materials before starting.
Step 2: Install the Dedicated Circuit
Run new wiring from the electrical panel to the charger location. This dedicated EV charging circuit protects your electrical system and ensures consistent performance.
Use the proper wire gauge and conduit according to code requirements. Most Level 2 chargers use a 40- or 50-amp breaker. Proper grounding is also essential to prevent electrical shock hazards.
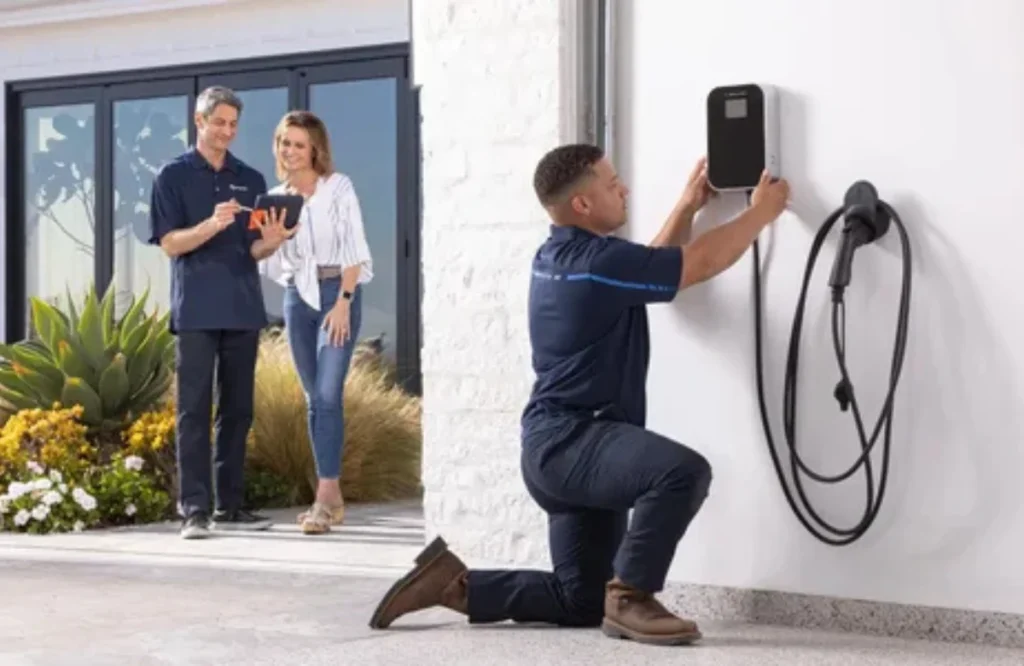
Step 3: Mount the Charger
Secure the charger to the wall at a convenient height. Follow the manufacturer’s instructions carefully for spacing and alignment.
Connect all wires properly inside the charger unit and double-check connections before restoring power.
Step 4: Test and Inspect
Restore power and test the charger thoroughly. Look for warning lights, unusual heat, or error codes.
A final inspection confirms the installation meets all local electrical standards and safety requirements.
Common Challenges and How to Solve Them
A circuit breaker that keeps tripping after installation often indicates an overloaded circuit. Installing a dedicated EV charging circuit usually prevents this issue.
If problems continue, contact a licensed electrician for troubleshooting. Learning how to reset a circuit breaker safely is also important. Flip the breaker completely off and then back on. Repeated tripping should never be ignored because it may signal a serious electrical issue.
Following basic home electrical safety tips helps protect your system every day. Avoid overloading outlets, keep cords away from water, and schedule regular electrical inspections.
When Professional Help Saves Time and Money
Many homeowners begin EV charger projects themselves but encounter unexpected issues. Licensed electricians manage load calculations, wiring, permits, and inspections efficiently.
Professionals also identify hidden problems such as outdated panels or unsafe wiring before they become costly repairs.
NEAR ELECTRIC provides expert EV charger installation services throughout Pittsburgh. Our team handles everything from panel upgrades to final testing, ensuring your installation meets all local codes and safety standards.
Other Electrical Upgrades to Consider
Installing an EV charger is a great time to improve other parts of your home’s electrical system.
A recessed lighting installation can brighten your garage and complement your new charging setup. If you notice flickering lights, warm outlets, or outdated wiring, address those concerns during the project.
Combining upgrades can improve convenience, safety, and long-term efficiency.
Maintaining Your New EV Charger
Keep the charging area clean and dry at all times. Inspect cables and connections periodically for wear or damage.
Schedule yearly maintenance checks to ensure everything operates safely and efficiently. As your household energy needs grow, consider upgrading your electrical system to support future demand.
Simple maintenance keeps your EV charger performing reliably for years.
Ready for Reliable Home Charging?
Stop depending on public charging stations and enjoy the convenience of charging your EV at home.
NEAR ELECTRIC specializes in complete EV charger installation services throughout Pittsburgh. We also handle electrical panel upgrades, breaker box repairs, and comprehensive home safety inspections.
Contact us today to schedule a free assessment. Our experts will evaluate your home, explain your options clearly, and manage every step of the installation process.
Call or visit to book your appointment and take the first step toward stress-free EV ownership.
FAQs About EV Charger Installation
How long does EV charger installation take?
Most residential installations take one or two days. Simpler projects finish faster, while panel upgrades may require additional time.
Do I need to upgrade my electrical panel for a Level 2 charger?
Many older homes with 100-amp service require panel upgrades. A professional assessment determines whether your current system can support the charger safely.
Can I install an EV charger myself?
Some plug-in chargers are simpler to install, but hardwired Level 2 chargers require professional electrical work, permits, and code compliance.
What if my circuit breaker keeps tripping after installation?
This usually indicates an overloaded circuit or improper breaker sizing. A licensed electrician can quickly diagnose and resolve the issue.
How much does home EV charger installation cost in Pittsburgh?
Costs vary depending on the charger type, wiring distance, and whether panel upgrades are needed. Most installations range from several hundred to a few thousand dollars.